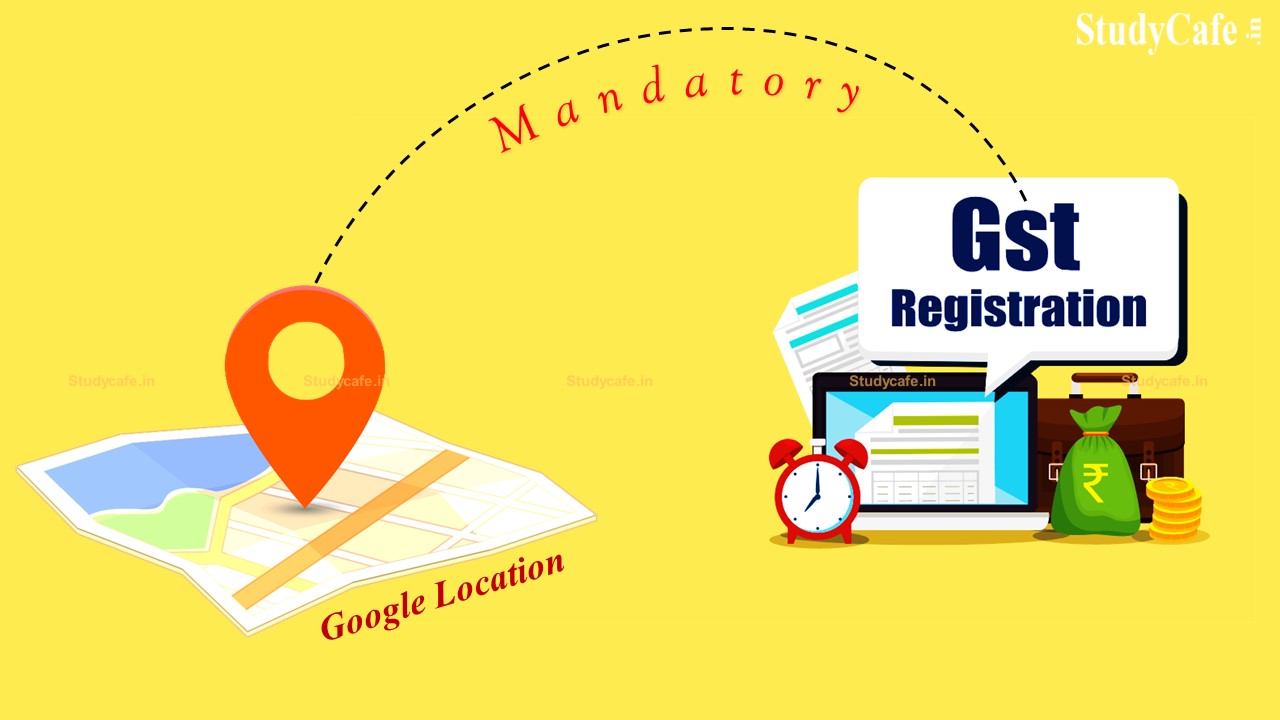
Google Location is Now Compulsory for GST Registration
Google Location is Now Compulsory for GST Registration The Goods & Service Tax (GST) Department has made it compulsory to enter the exact google …
Table of Contents
Google Location is Now Compulsory for GST Registration
The Goods & Service Tax (GST) Department has made it compulsory to enter the exact google location of premises while doing new GST Registration or while Adding a New Place of Business at the time of Amendment in GST Registration. A screenshot of the tab that would appear while doing GST Registration is given below for reference.
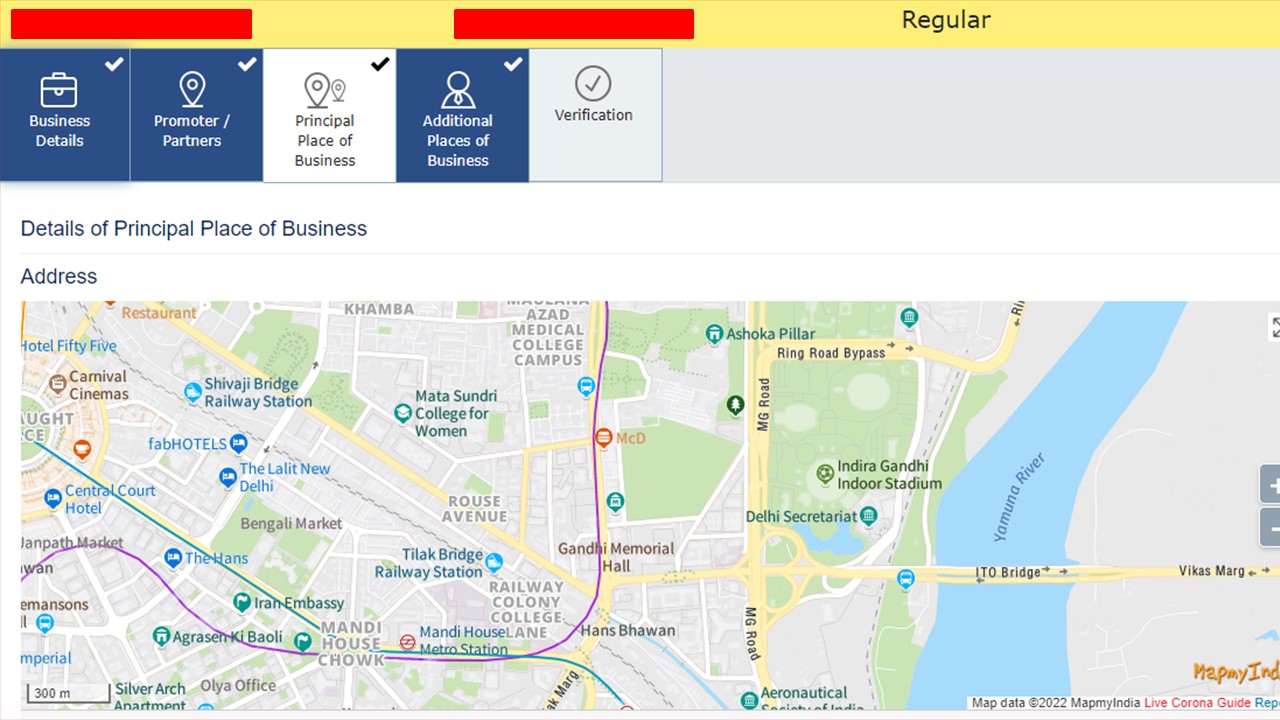 The Map Data has been taken from https://maps.mapmyindia.com/
The Map Data has been taken from https://maps.mapmyindia.com/
What is GST Registration?
GST registration is the procedure through which a taxpayer becomes registered under the Goods and Services Tax (GST). After completing the registration process, the Goods and Services Tax Identification Number (GSTIN) is supplied. The Central Government provides the 15-digit GSTIN, which aids in determining if a business is required to pay GST. A business with a turnover of more than Rs. 40 lakh is required by GST rules to register as a regular taxable entity. This is known as the GST registration process. For firms in hill states and North-Eastern states, the turnover is Rs.10 lakh. The GST registration process can be completed within 6 working days. GST registration can be completed quickly and conveniently through the GST portal. Business owners can register for GST by filling out a form on the GST portal and submitting the required documentation. GST registration must be completed by businesses. It is a criminal violation to do business without registering for GST, and there are severe penalties for non-registration.Who is eligible to register under GST?
- Individuals and businesses must register for GST in the following categories:
- Individuals who registered for tax services prior to the implementation of the GST law.
- Non-Resident Taxable Individual and Casual Taxable Individual
- Individuals who pay their taxes through the reverse charge technique
- Every e-commerce aggregator
- Businesses with a turnover of more than Rs.40 lakh. The business should have a revenue of more than Rs.10 lakh in Uttarakhand, Himachal Pradesh, Jammu and Kashmir, and the North-Eastern states.
- Individuals that sell their wares via an e-commerce aggregator.
- Individuals who provide database access and online information to people in India who are not registered taxable persons from outside India.
Steps for GST Registration Process Online
The following is a step-by-step procedure that persons must follow to complete GST Registration: Step 1: Go to the GST website at https://www.gst.gov.in. Step 2: Go to the 'Taxpayers' tab and click on the 'Register Now' link. Step 3: Click on 'New Registration.' Step 4: Fill in the following information:- Select 'Taxpayer' from the 'I am a' drop-down option.
- Choose the appropriate state and district.
- Enter the company's name here.
- Enter the company's PAN here.
- Fill in the email address and phone number in the appropriate sections. Because OTPs will be delivered to the supplied email address and mobile number, they must be active.
- Enter the image that appears on the screen and press the 'Proceed' button.
- Photographs
- Proof of business address
- Account number, bank name, bank branch, and IFSC code are all examples of bank details.
- Form of Authorization
- The taxpayer's constitution.
- Using an Electronic Verification Code (EVC). The code will be delivered to the registered mobile phone number.
- Using the e-Sign technique. An OTP will be issued to the phone number associated with the Aadhaar card.
- When registering a company, the application must be filed using the Digital Signature Certificate (DSC).
About Author

Reetu
Content Manager
Reetu is a Content Writer with 4+ years of experience in GST, Income Tax, Finance, Company Law, Education and Career Related Content. She is a B.COM (Honrs.) Graduate.
 Studycafe
 Delhi, Delhi, India
 8072
8072My Recent Articles
- Income Tax Guide for Indian Defence Personnel for Tax Filing, Taxable Allowances and Other Benefits
- Income Tax Return Breaking: ITR Forms released for AY 25-26
- Ex-DRT Officials Sentenced to 5 Years Rigorous Imprisonment by Madras High Court along with Rs.27 Lakh Fine
- GSTN issued Advisory on Case Sensitivity in IRN Generation
- RBI to issue Notes of Rs.10 and Rs.500 bearing Signature of Guv Malhotra
Up Next
Loading suggestions…


Recent Posts


All Posts


Recent Posts
All Posts